
Hello, Friends, All over sites working on in all case that is on WordPress you can install WordPress in localhost Easily.so install WordPress in localhost easily using this which are beginners this help you so much. start your own website today using it.its very easy if you are non-technical guy don’t worry.
If You want To Install WordPress in Localhost of Your PC Then How To Install? It Easy to Install WordPress in Localhost For Testing, Learning and Code Inside WordPress.If You Need To Install WordPress in Localhost Then I here Put Full Tutorial to Install WordPress in Localhost Step-By-Step in Few Minutes.
Required For Install WordPress in Localhost:
- Download Xampp By Click Here.
- Download WordPress By Click Here.
Install WordPress in Localhost:
Step 1: First Download Xampp For Your Based Platform PC by Click Here.
>> What is Xampp?
Xampp is a free and open source cross-platform web server solution stack package developed by Apache Friends, consisting mainly of the Apache HTTP Server, MariaDB database, and interpreters for scripts written in the PHP and Perl programming languages. Source By Wikipedia.
>> Download Xampp By Click Here.
Note: Download Xampp Based on Your Platform If You Using Windows 64Bit PC Then Download 64Bit Version Of Xampp.
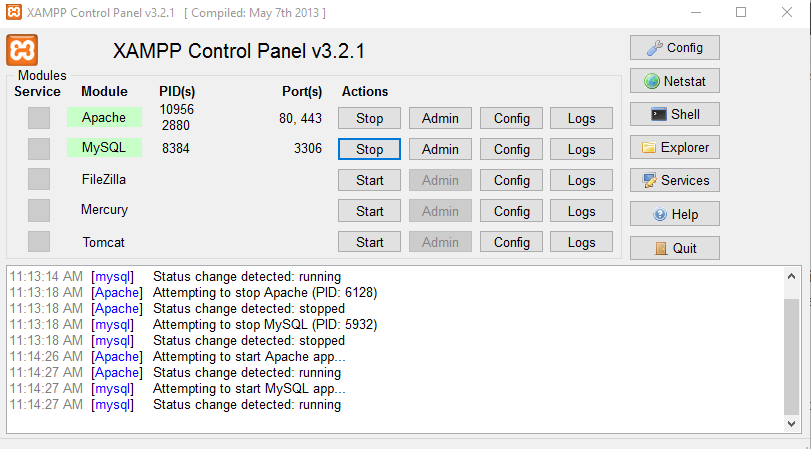
Step 2: After Download Install and Run Xampp.
Step 3: After Start Xampp in Front of Apache and MySQL in Action Tab Click “Start“.
Step 4: Download WordPress By Click Here and Extract in “Your Installation Drive >> Xampp >> htdocs >>” Folder.
Step 5: Then, Go To Web-Browser and Open “http://localhost/phpmyadmin” After That PHPMyAdmin will Open.
Go To Database Tab and Create Database “WordPress” There and Press Enter.

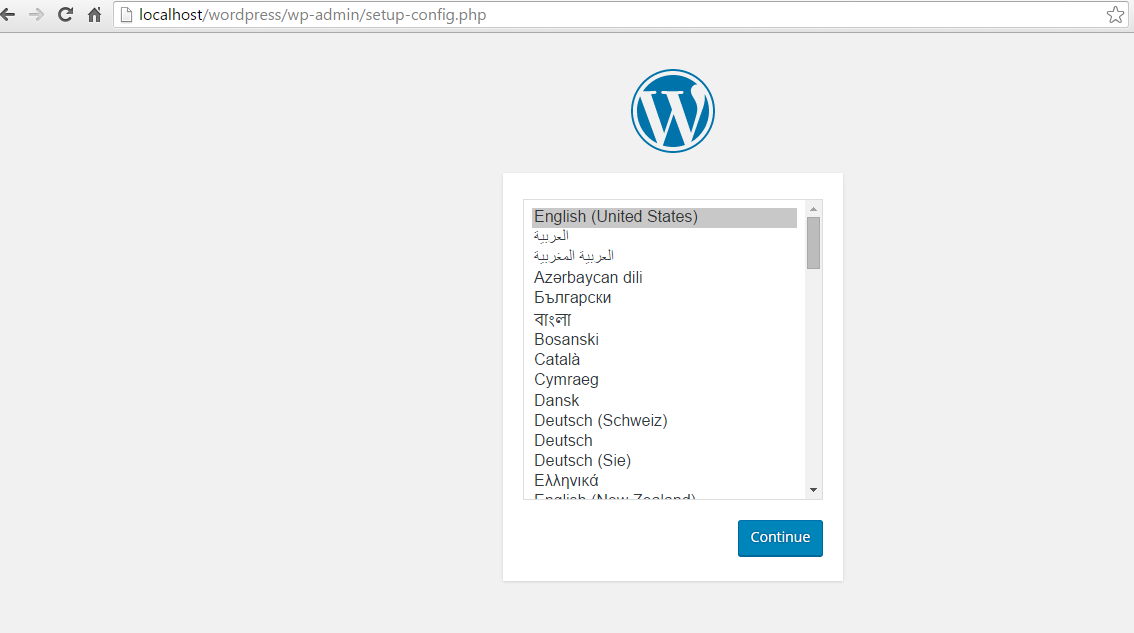
Step 6: Now Open New Tab in Browser and Write “http://localhost/WordPress“.
- First Select Your Preferred Language in WordPress.

- Then Click “Let’s Go“.
- Now Fill Up Detail as Image Shown and Click on “submit“.
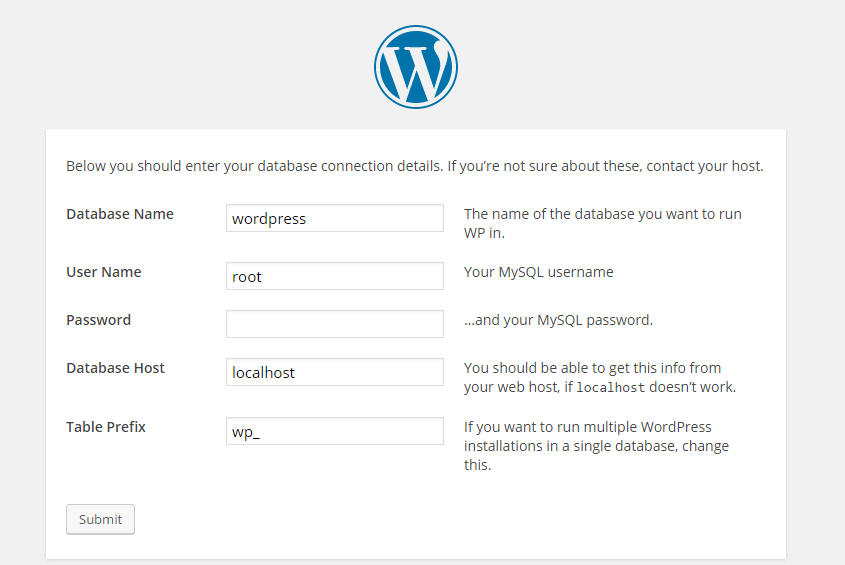
In Detail
Database Name: wordpress (Keep Same Name as You Keep In Database Most Important)
User Name: root
Password: (Leave Blank)
Database Host: localhost (Don’t Change This)
Table Prefix: wp_
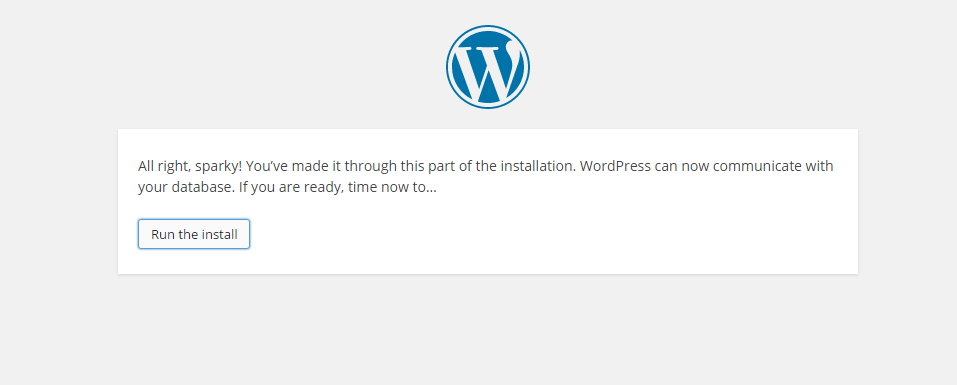
Step 7: After Do This all Thing You Get This Message and Click on “Run and Install“.
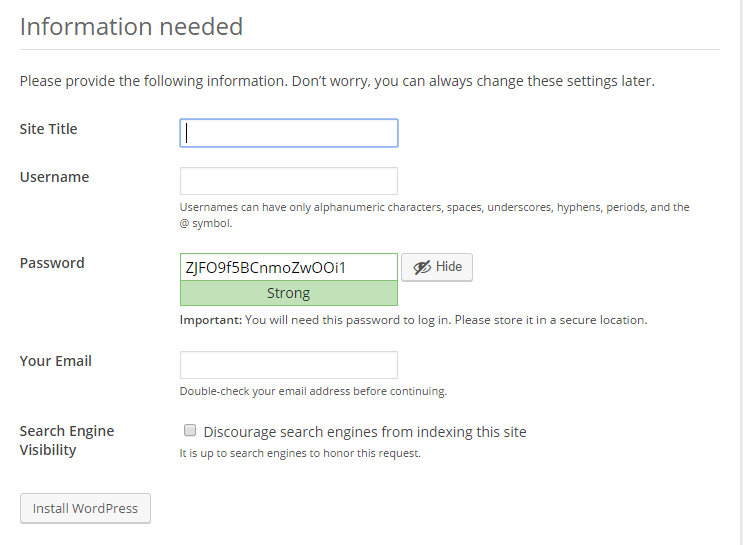
Step 8: Fill The Information of Your in “Information Needed Field” and Click On “Install WordPress“.
Step 9: Congrats…!!! You have Done All The Step and You Get Success Message of Installation of WordPress.
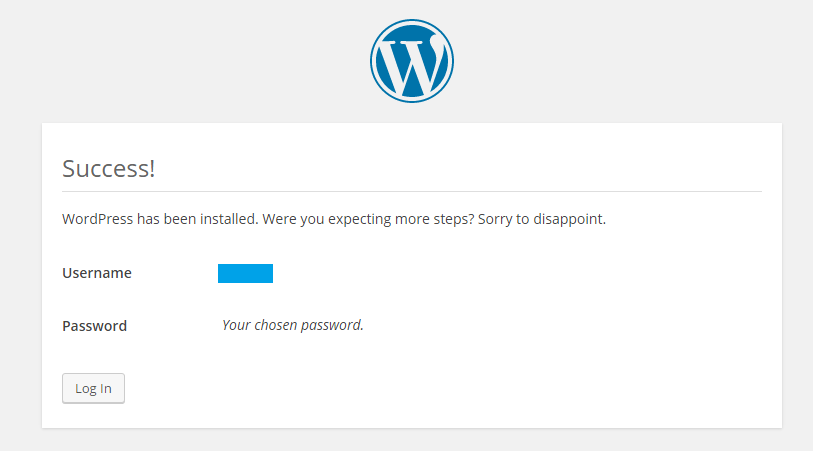
Step 10: Now Login With Your Username and Password.
If You See Your WordPress Homepage Go To in Browser and Open “http://localhost/wordpress/“.
If You Have Any Query Regarding This Than Feel Free To Comment Here.