
Windows is the most popular operating system across laptops and personal computers. That being said, you might have to deal with several Windows error messages while trying to update your system. The most terrifying errors are those that we find while updating OS which include Windows update errors 80072EE2, 0x8007005, and 0x80070422.
These are quite annoying and what any sane person would want to do would be to find a solution for these. In this article, we plan to provide you with ways to fix a very common error 80072EE2 that pops up while trying to update your system. It is not at all a tough task, but it will be even more simple once you follow our step-by-step guide. Without any further delay, let’s get started.
What is Error 80072EE2?
It is one of the errors that appear when one of the files on your system is corrupt or the updates are suck. The error will be shown with the message as follows:
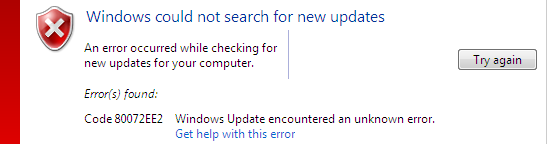
- An error occurred while checking for new updates for your computer. Error(s) found:
Code 80072EE2 Windows Update encountered an unknown error.
This basically means that your computer is not able to access the Update. That is really upsetting as users need to update their OS for various purposes.
Fix Windows update error 80072EE2
Since this error is the main focus of this article we have taken the time to discuss a few of the many solutions for it. Try them all to fix error code 80072ee2.
Solution 1: Edit the registry
Let me warn you that you might need the Windows registry key for this method to work. Some people might not have access to that.
Step 1: Press the Windows key + R
Step 2: The run dialogue box will open. Type in services.msc. Choose the OK option.
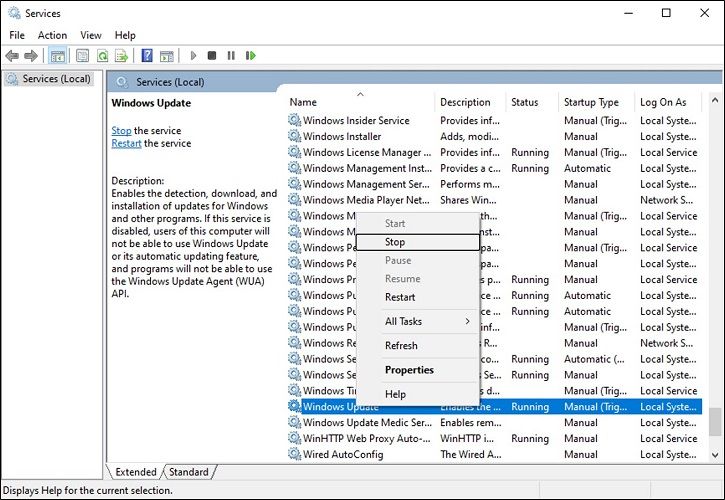
Step 3: Find Windows Update among the services. Right-click it and choose Stop. Not stopping it will cause some errors.
Step 4: Open the run dialogue box again and type:
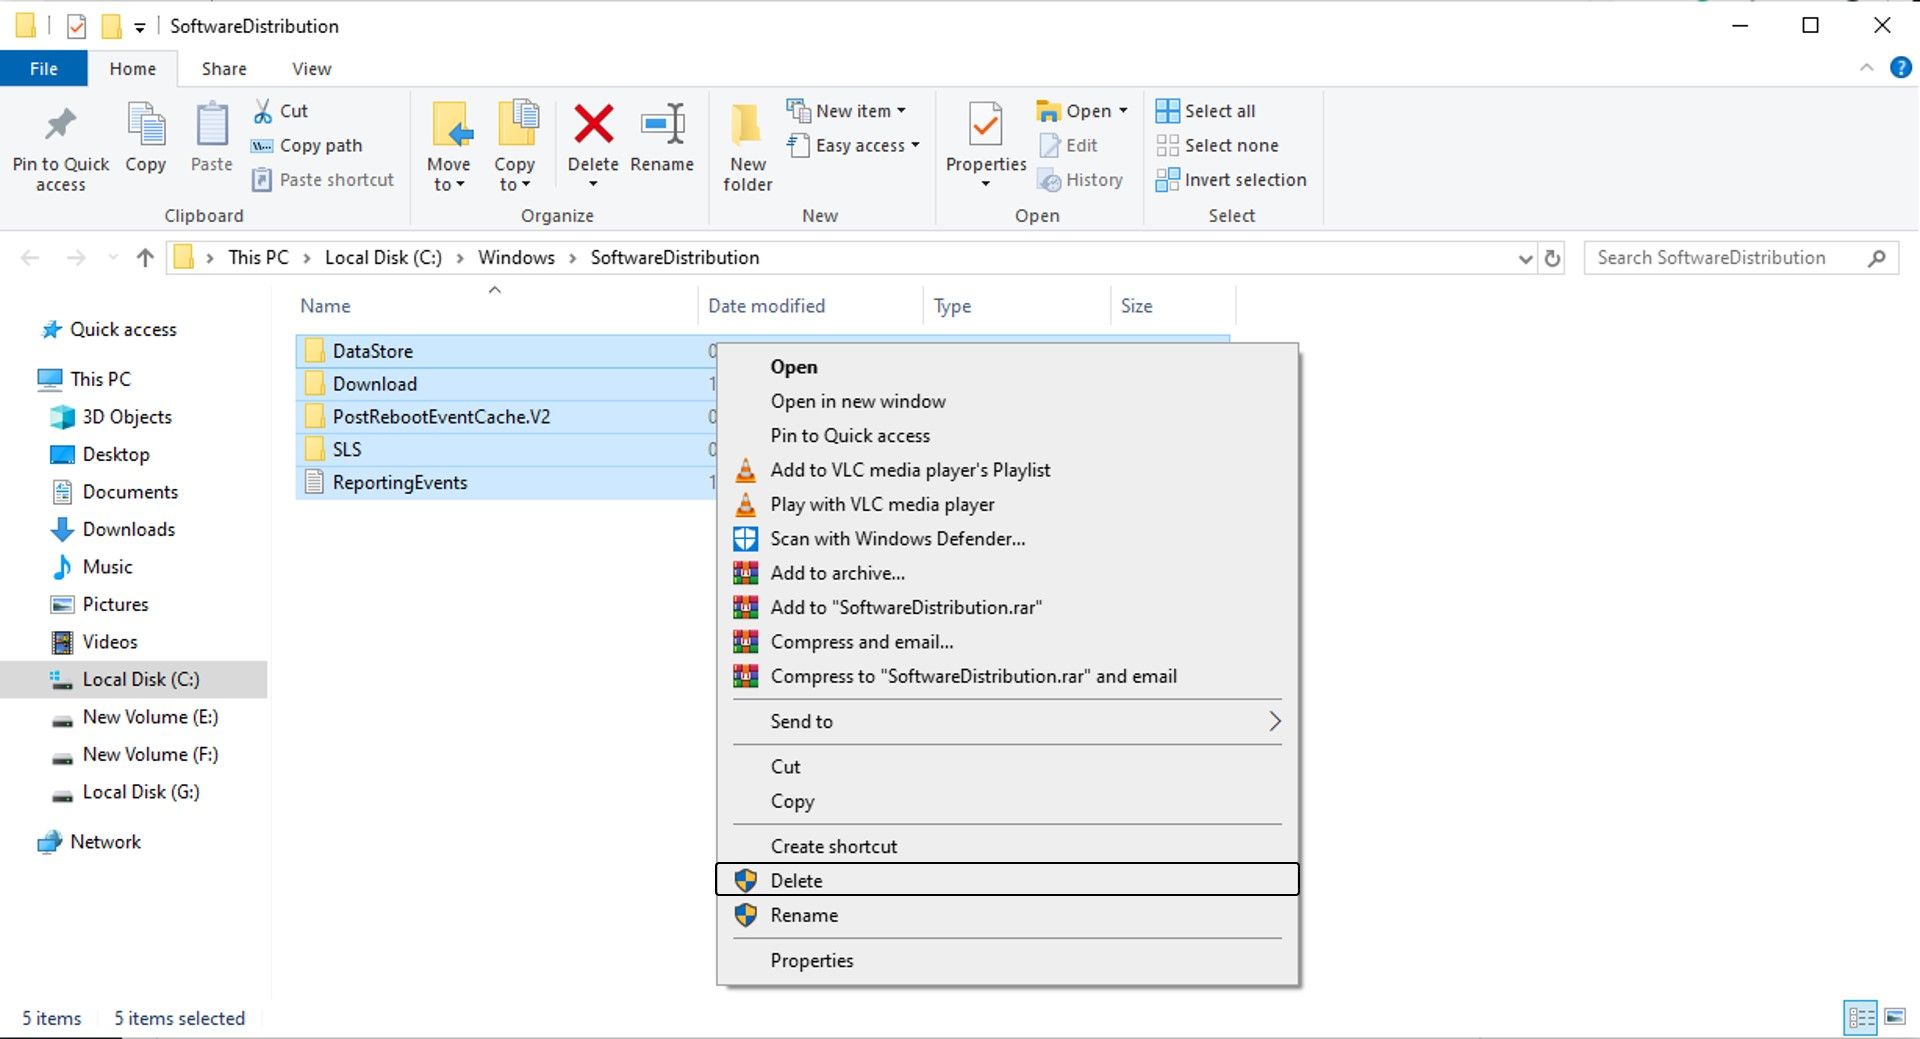
C:\Windows\SoftwareDistribution
Step 5: Hit Enter and Delete everything in the folder.
Step 6: Go back to the Services console. Start the Windows update just like you stopped it.
Step 7: Open the run dialogue box yet again and type in Regedit.
Step 8: You will get to the registry editor. Browse along:
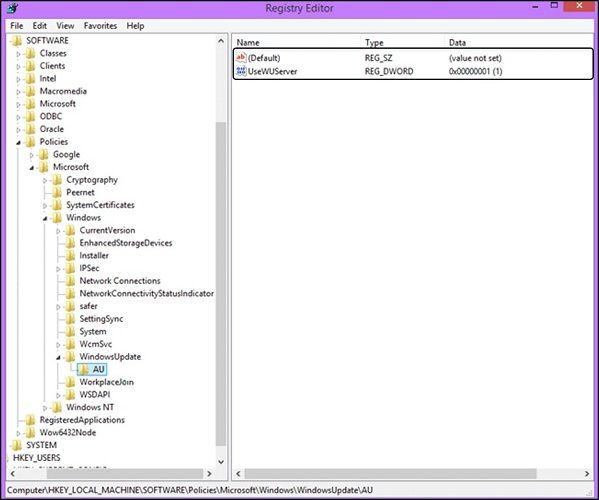
HKEY_LOCAL_MACHINE\SOFTWARE\Policies\Microsoft\Windows\WindowsUpdate\AU
Step 9: Find the keys WUServer and WUStatusServer in the right pane.
Step 10: Now go and check if the Windows Update service is running.
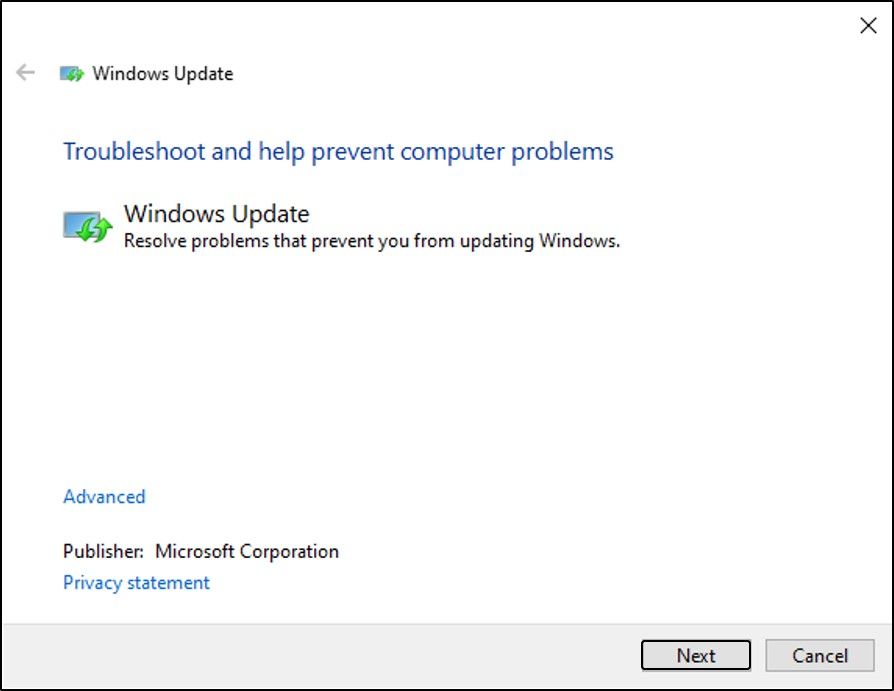
Solution 2: Troubleshoot Windows update error 80072EE2
You just need an administrator account before running the troubleshooter.
- Go to Control Panel from your system.
- Search for troubleshooting in the upper right search bar. Select the first result.
- Find System and Security > Fix problems with Windows update.
- Windows update window will be opened. Then hit the Next button.
- Now, wait for the troubleshooter to detect any issues and fix them.
- After that’s done, restart your computer.
It should fix Windows 10 update error 80072EE2.
Solution 3: Reset Windows update modules
If the above methods didn’t work for you then you can try this trick. You will be resetting all of the Windows update modules by force and launching them again through a restart.
Step 1: Search for Command Prompt using the Windows search bar. Right-click on the search result and choose Run as administrator.
Step 2:Perform the following commands successively.
net stop wuauserv
cd %systemroot%
ren SoftwareDistribution SoftwareDistribution.old
net start wuauserv
net stop bits
net start bits
net stop cryptsvc
cd %systemroot%\system32
ren catroot2 catroot2.old
net start cryptsvc
regsvr32 Softpub.dll /s
regsvr32 Wintrust.dll /s
regsvr32 Initpki.dll /s
regsvr32 Mssip32.dll /s
Step 3: Restart your computer once you’re done.
Now try to update the Windows. If you aren’t facing any problems then error 80072EE2 Windows 11 is fixed.
Solution 4: Delete software distribution
It is a folder where you will find temporary files that might come in handy with future updates. We are going to clear it and clear the update history as well by this method to fix Windows update error 80072EE2.
Step 1: Use the Windows search bar and look for the command prompt. Right-click on the app and choose Run as administrator.
Step 2: Perform these commands one by one.
net stop cryptSvc
net stop wuauserv
net stop msiserver
net stop bits
Step 3: After this is done, go to the Windows Update directory. Now delete every updated file.
Step 4: Open File Explorer and get to C:\Windows\SoftwareDistribution
Step 5: Delete all the things inside that folder.
Step 6: To relaunch the Windows Update service get to the command prompt again and execute these commands.
net start cryptSvc
net start wuauserv
net start msiserver
net start bits
Step 7: The only thing that remains is for you to restart your computer.
Solution 5: Go through the official Microsoft documentation
Some updates get replaced with other or further updates. In case such a situation arises then you should go through the official Microsoft documentation to find out which case applies to you. Just restart your computer after applying all the fixes.
Check your date and time settings
As silly as it may sound, sometimes this simple thing may cause an update error. The devil does lie in the details. So make sure that you have the correct date and time set on your computer.
Wrapping up,
You should not be sitting near Windows update error 80072EE2 by now. This extensive guide is more than enough to get rid of the error of our interest. Anyway, if you are stuck with the same, let us know via the comment section.