
If you have ever encountered a frustrating situation where your printer stops functioning, displaying an error state message (printer in error state), you are not alone. Many users face this issue, and it can be caused by various factors such as connectivity problems, outdated drivers, or software conflicts.
In this article, we will delve into the potential reasons behind the error state, and more importantly, provide practical and easy-to-follow solutions to get your printer back up and running in no time. Whether you are a novice or an experienced user, we’ve got you covered with stepwise troubleshooting methods to resolve the printer in error state issue and ensure smooth printing operations.
Contents
What is Printer in Error State?
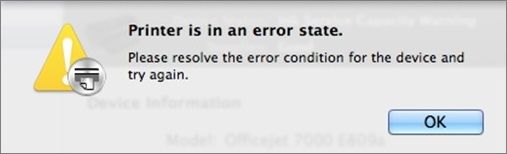
Encountering this error can be frustrating when attempting to print a document, leading to the inability to obtain a printout. Pinpointing the exact cause of this issue can be challenging, as it might be related to the printer itself.
To address this problem, you can start with some basic troubleshooting tips, such as checking for paper jams, verifying ink supply, and ensuring the cover is closed securely. If it doesn’t get resolved in your HP, Epson, Brother, or any other printer, you can proceed with the stepwise methods described below to effectively troubleshoot and fix the issue.
Fix Printer in Error State
Method 1: Check the printer status
Verifying the printer’s status with j67 helps ascertain its working condition, allowing us to plan the next steps accordingly.
- Press the Windows button and the X button simultaneously. Now choose the control panel.
- From the control panel select the view devices and printer option to view the list of devices and printers attached to the computer
- Click on your print to view various options. To check the printer status tap on the Properties button. If something is not right, select the Troubleshooting option to sort it out.
Method 2: Ensure proper connection
To resolve printer connectivity issues, ensure proper connections between the system and the printer, and check for any damages in the connecting cables. For wireless connections, verify the network settings for the correct configuration.
Additionally, restarting the devices can be a helpful step. Turn off both the computer and printer, wait a few minutes, and then power them back on. This simple reboot might resolve the issue and clear the error.
Method 3: Adjust printer spooler settings
As a fix to this error, we will switch the printer spooler service to automatic mode. Before making this change, we need to remove existing printer spooler files. Users have reported success in resolving the error using this solution. Let’s see how it can be done:
- Locate to Local Disk (C:) > Windows > System32 > Spool > Printers.
- Now delete all files you see in there.
- Now navigate to Local Disk (C:) > Windows > System32 > Spool > Drivers > W32X86
- Delete all files and folders available at that location.
Before witnessing the changes, a spooler service restart will be necessary. However, prior to that, we will set the printer spooler to automatic mode.
- Open Run by pressing Windows + R.
- Type services.msc in the open bar and hit enter.
- Find Printer Spooler from the list of options you get there. Open its properties.
- Find Change the startup type to Automatic, and choose start the service. (It is required only if the same settings are not adjusted.)
- Move to Recovery section and perform First failure > Restart the Service.
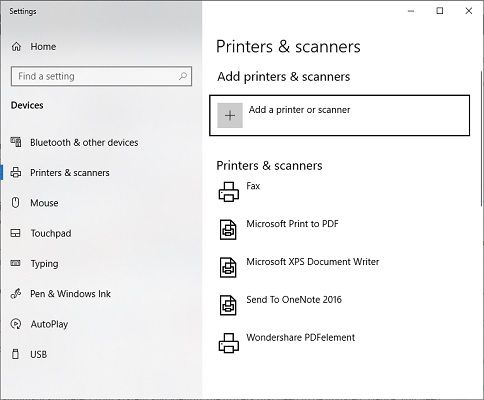
After clicking OK and then the Apply button, the process is complete. Restart your computer and proceed to add the printer from the settings. Move to Settings > Devices > Printers and Scanners and tap on Add a printer or scanner.
Method 4: Update the driver
Outdated drivers are a recipe for disaster. You need to install the latest driver versions to enable the smooth functioning of the device. You can either choose to manually update the drivers yourself or use software that does the job much more efficiently.
Driver Easy is a reliable third-party tool designed to automatically detect your system’s needs and identify the drivers that require updating. Even the free version of Driver Easy is effective, alleviating concerns about driver compatibility issues.
- First, download and complete the Driver Easy installation.
- Launch the app, and then tap on the scan now button. The app will now start scanning your computer for faulty and outdated drivers
- The problematic drivers will be displayed on the screen. Click the Update button to fix the drivers. You can also click on the update all button (pro version) which does the job in one click.
Besides updating the drivers, Driver Easy also lets you remove the installed drivers. This is particularly useful when you are planning for a reinstall.
- Launch the software and click on the tools option.
- Choose the driver to uninstall option and you can see the complete list of the drivers installed on your system.
- Select the Driver, and click on the uninstall button.
Method 5: Contact the manufacturer
If all other solutions have been exhausted without success, reaching out to the manufacturer is your final option. They may offer to repair your printer or provide a replacement based on your agreement or warranty terms.