
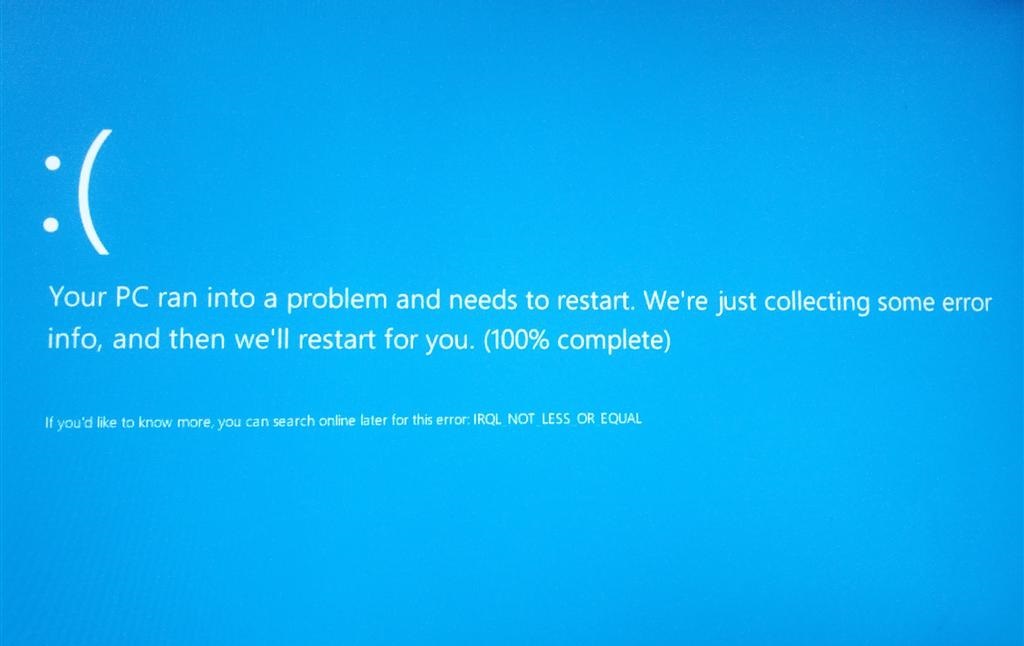
ntoskrnl.exe BSOD error: The blue screen of death is not an intimidating name, but seriously speaking, it is one of the errors that give chills to PC users. This is understandable as getting a blue window means that something major has headed south, unlike in the case of minor errors that don’t prevent the user from using the system.
Whenever there is a critical error in the system from which recovery is impossible, it’s a cue for the blue screen. It is normally triggered due to faulty hardware or faulty drivers. Unless the cause of the error is not dealt with properly, you might not be able to use your computer properly.
Contents
- 1 What is Ntoskrnl.exe?
- 2 Ntoskrnl.exe BSOD causes
- 3 Fix ntoskrnl.exe BSOD on Windows 10
- 3.1 Solution 1: Update your Realtek audio driver
- 3.2 Solution 2: Update your computer
- 3.3 Solution 3: Disable overclocking settings
- 3.4 Solution 4: Turn off Android emulators
- 3.5 Solution 5: Clean your registry
- 3.6 Solution 6: Check your disk for errors
- 3.7 Solution 7: Memtest to fix ntoskrnl.exe BSOD
- 3.8 Solution 8: Load optimal default settings
- 3.9 Solution 9: Run performance troubleshooter
- 3.10 Solution 10: Troubleshoot BSOD in Clean Boot
What is Ntoskrnl.exe?
“Ntoskrnl” stands for Windows NT operating system kernel and “.exe” shows that it is an executable file that is a program that when opened causes the OS to run the program.
In computing ntoskrnl.exe, also known as kernel image, provides the kernel and executive layers of the Microsoft Windows NT kernel space, and is responsible for various system services such as hardware abstraction, process, and memory management, thus making it a fundamental part of the system.
It contains the cache manager, the executive, the kernel, the security reference monitor, the memory manager, and the scheduler. Imperfection in the same also can cause such blue screen error.
Ntoskrnl.exe BSOD causes
There are many reasons for this error to appear. The ntoskrnl.exe BSOD is usually related to memory, usually caused by a faulty driver. There are instances where the error might be caused by overclocking. Overclocking means using the chips and circuits of the system beyond their rated specs to maximize performance.
In such cases, you need to change your overclock settings. If you have recently upgraded your memory but have not installed it properly, then there is a chance that you’ll run into this error.
Fix ntoskrnl.exe BSOD on Windows 10
Solution 1: Update your Realtek audio driver
It is a native audio driver that provides high-quality DTS, Dolby, Surround Sound, etc. So, in this situation, it was discovered that the Realtek Hi-Definition Audio driver labeled as Creative Audio Driver, was out of date. If you face such an error the easiest thing to do is to simply download the latest version of the Realtek driver.
Solution 2: Update your computer
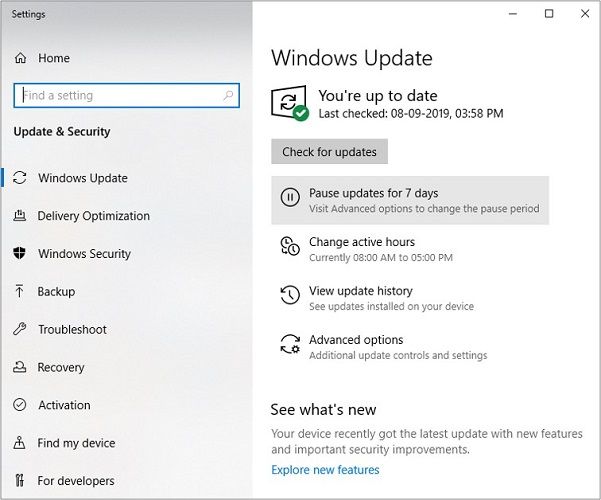
The outdated version of Windows may trigger a chain of issues and errors on your device that may ultimately lead to a blue screen of error due to ntoskrnl.exe. So, make sure that your system is running on the latest update.
To access the Windows update, simply type “update” in the search box. Then go to Windows update, check for updates, and install the available updates. Here is the snapshot of the same.
Solution 3: Disable overclocking settings
Overclocking software is often installed in computers as game-boosting tools to run the chips and circuits beyond their recommended specs. For this very reason running on overclocking software may lead you to come face with a ntoskrnl.exe blue screen error. The solution is very simple and only requires you to disable the overclocking software.
Here are some of the best overclocking software based on GPUs that you need to uninstall if they are boosting the performance of the machine.
AMD: AMD Ryzen Master Utility, Sapphire Trixx, EVGA Precision X
Nvidia: Nvidia nTune, MSI Afterburner
Solution 4: Turn off Android emulators
For some users, the error occurs mainly when they enable BlueStacks and other similar Android emulators. So, if you installed emulators on your system, disable or completely uninstall them.
Here’s how you can quickly stop all BlueStacks services using a bat file:
- Open notepad.
- Enter the following lines when the notepad starts:
C: Program Files (x86)BlueStacksHD-Quit.exe
 net stop BstHdUpdaterSvc
 net stop BstHdLogRotatorSvc
 net stop BstHdAndroidSvc
- Now click File and then click Save as.
- Set Save as the type to All Files. Enter bat as the file name and click on Save.
- Now, locate the bat file and double-click it to run it.
Solution 5: Clean your registry
Corrupted or missing registry keys may also cause the ntoskrnl.exe BSOD error. Don’t forget to first back up your registry in case anything goes wrong.
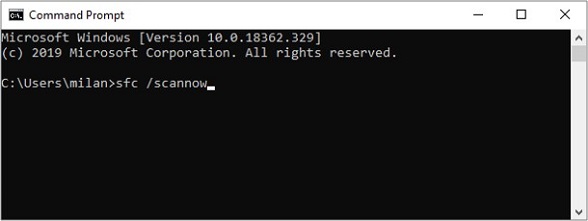
You can use Microsoft’s System File Checker to check for system file corruption. The utility verifies the integrity of all protected system files and repairs files with problems when possible. Here’s how to run an SFC scan:
- Go to Start and search for the command prompt.
- right-click on the command prompt and select Run as administrator.
- Now type the sfc /scannow command.
- Wait for the scanning process to complete and then restart your computer.
- All the corrupted files will be replaced on reboot. This may remove all shady work done by ntoskrnl.exe BSOD.
Solution 6: Check your disk for errors
The command prompt is used in Windows to run a disk check on Windows 10.
Follow the steps given below:
- Go to the start menu and search for the command prompt.
- Run command prompt as administrator.
- Type the chkdsk c: /f command.
- Replace C with the letter of your hard drive partition.
- Wait while the process finishes.
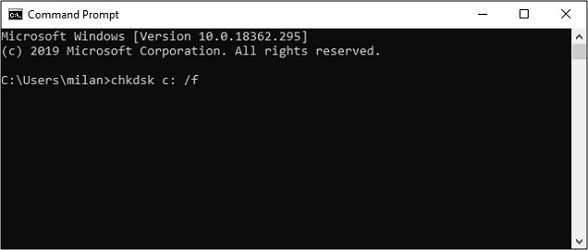
As a quick reminder, if you do not use the /f parameter, chkdsk displays a message that the file needs to be fixed, but it does not fix any errors. The chkdsk D: /f command detects and repairs logical issues affecting your drive. To repair physical issues, run the /r parameter as well.
On other Windows versions, go to hard drives > right-click the drive that you want to check > select Properties > Tool. Under the ‘Error checking’ section, click Check.
Solution 7: Memtest to fix ntoskrnl.exe BSOD
The ntoskrnl.exe BSOD is usually related to memory, possibly caused by a faulty driver. It is suggested that you run the following memory test to verify your memory and find out which driver is causing the problem.
Follow these steps to proceed:
- Click the Start button, then type Windows Memory Diagnostic in the search box and hit Enter.
- Click Restart now and check for problems. Be sure to save your work first as your system will start immediately.
- Your computer will restart and the Windows Memory Diagnostic screen will appear. Just let it perform the test. You don’t need to do anything except stay and watch the test finish.
- The computer reboots automatically and returns to the Windows desktop. The test result will show up right after you log in. You have to check the result manually if it doesn’t show automatically. To do so Press Win+ R at the same time, then type in msc and hit Enter. Click the System option under the category Windows Logs on the left pane. On the right pane, click Find. Type MemoryDiagnostic in the search box and hit Enter, at the bottom of the window, you will be able to see the result displayed.
- If at the end of the diagnosis, you see that certain drivers are at fault or that you see some error then it means that you have bad RAM. In that case, you need to get your RAM changed.
Solution 8: Load optimal default settings
Being an OS geek, you may have changed the system’s default settings from its root. So, it is also a good idea to get back to the default setting. Let’s see how it can be accomplished.
- Force stop that blue screen and restart the machine.
- Upon pressing the power button, press F2 immediately. (This differs as the brand varies. Like Lenovo computers need to press the physical button provided at the side panel while some Alt+Ctrl+Del works for other computers.)
- It will open the BIOS window. Choose Load Optimal Defaults from the screen.
- Press F10 > OK to save changes.
- It will reboot the system and check if an error is still there.
Solution 9: Run performance troubleshooter
Sometimes, this performance troubleshooter fixes the error because of the ability to fix causes automatically. The same should be employed whenever you think it is a memory or driver-related error.
- Open the Run box, type the following, and hit Enter: “msdt.exe /id PerformanceDiagnostic”
- This starts the Performance Troubleshooter. Run it and see if it has any issues to fix.
Solution 10: Troubleshoot BSOD in Clean Boot
You can troubleshoot further manually by performing a Clean Boot. A Clean Boot starts a system with minimal drivers and startup programs.
When you start the computer in clean boot, the computer starts by using a pre-selected minimal set of drivers and startup programs, and because the computer starts with a minimal set of drivers, some programs may not work as you expected.
Clean-boot troubleshooting is designed to isolate a performance problem. To perform clean-boot troubleshooting, you must disable or enable one process at a time, and then restart the computer after each action. If the problem goes away, you know that it was the last process that was creating the problem.
Wrapping up,
So, it was one of the common errors that have caused problems for many users, the blue screen of death aka ntoskrnl.exe BSOD. More specifically, we have discussed how ntoskrnl.exe can cause a blue screen error. We have provided multiple fixes to solve the error. Let us know if you still face it.