
Whenever something bad happens with your computer, I will recommend you to create a restore point in Windows 10 PC. Microsoft’s latest computer operating system has come with some excellent features. The System Restore Point is one of the valuable features which will help you to undo the unstable state when you install app updates and drivers. Let’s find out how to use restore point in Windows 10.
Fine, creating restore point Windows 10 is a bit of difficult task. But, I always use it on my Windows 10 PC to handle some unexpected issues. So, whenever I try to install the latest app updates or making changes in my computer. My first would be creating the system restore point to safeguard the computer. In order to get started with the process of creating the system restore point, here’s the complete step-by-step procedure to create a System Restore Point with a double click in Windows 10.
How to Create a System Restore Point in Windows 10 with a Double Click
Before moving to the process of creating restores point Windows 10, ensure that System Restore Point is enabled on your computer. To check the System Restore Point is enabled, just follow below steps.
Check if System Restore Point is Enabled
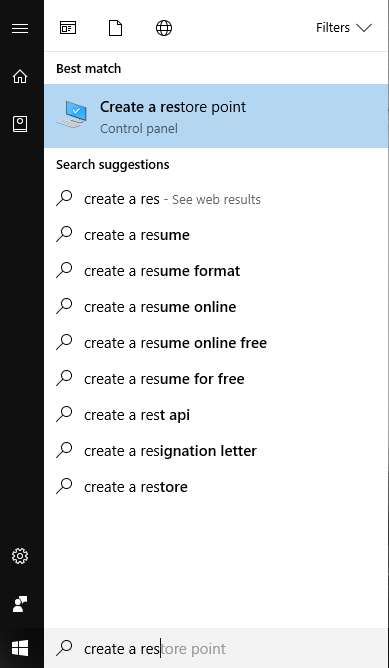
Step #1: Open start menu, search for “Create a Restore Point” and hit the enter button.
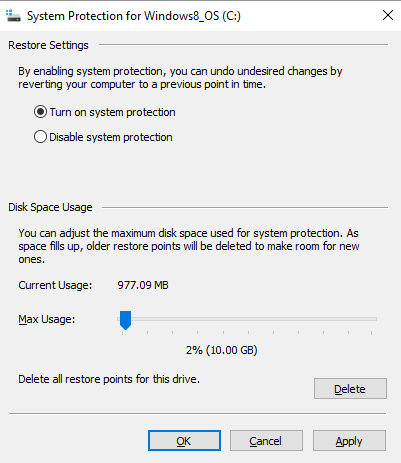
Step #2. On System Properties; under the System Protection, check whether the Windows C drive is turn ON or OFF. If the C driver is turn on, you can move further to the creating restore point process and if C driver is off, then you need to turn it on.
To turn on system’s C driver, select the C drive and click on the Configure at just below of the Protection Settings box.
Step #3: Select Turn On System Protection.
Step #4: Click on Apply button and then OK.
Steps to Create a Restore Point with a Double Click on Windows 10 PC
First of all, create a shortcut to the script to manage system restore point easily. Hence, when you face the unforeseen error in your computer, you would just have to double click on that shortcut to create a system restore quickly.
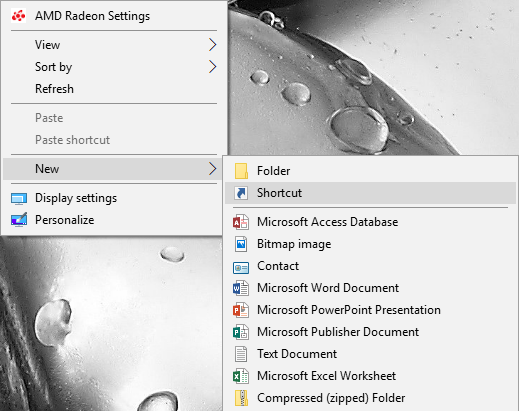
Step #1: Go to your desktop and right click on it.
Step #2: Select New and click on Shortcuts.
Step #3: Enter the following command when you ask to type the location of the item and click Next.
cmd.exe /k “wmic.exe /Namespace:\\root\default Path SystemRestore Call CreateRestorePoint “My Shortcut Restore Point”, 100, 7″
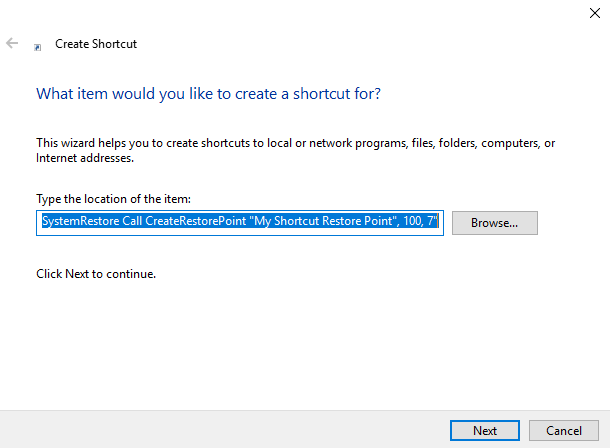
This command will let your computer to launch Command Prompt and use (WMIC) Windows Management Instrumentation Command-line tool to create a system restores point of your Windows 10.
Step #4: After clicking on Next button, named your shortcuts. Here I gonna named it “Create Restore Point” and hit the “Finish” button.
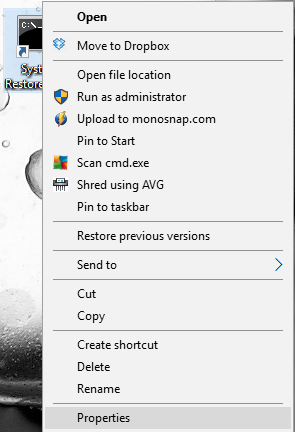
Step #5: Now the newly created shortcut appears on the desktop. Right-click on the shortcut and select Properties.
Step #6: Next up, click on “Advanced” button.
Step #7: Select Run as Administrator and click OK.
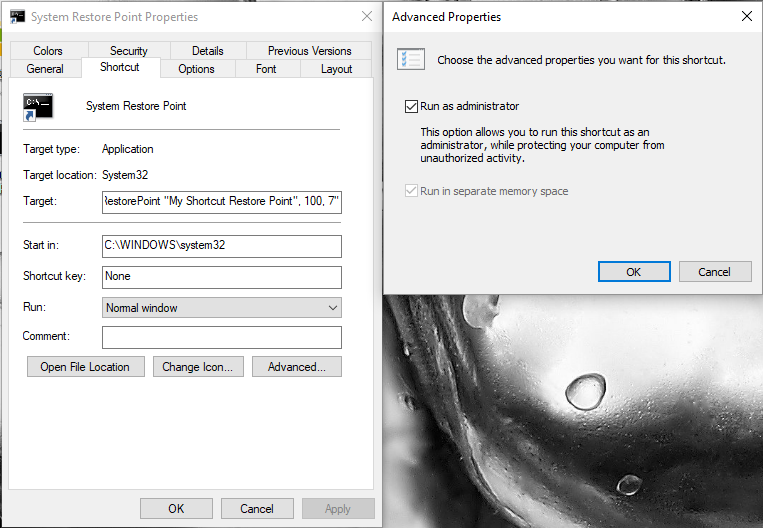
Step #8: Click on Apply and then Ok to complete the procedure.
Step #9: Now you can double-click on the shortcut to check that it is working fine or not. If you get the Command Prompt with the following screen, means you did it very well and it’s working properly.
From now, if you will plan to update a driver or install new app updates, you ought to double click on that shortcuts to create a new system restore by minimizing efforts to follow the lengthy procedure manually.
That’s it!
This is how you can easily create a system recovery of your Windows 10 PC. Well, this process will also work on Windows 8.1 and Windows 7 computers. But, you should keen in your mind that if you already have shortcut script in last 24 hours, then it won’t create any system restore point. Thus, you should delete the last script by heading to Create a restore point→ Select hard disk → Configure →Delete and Continue to confirm to delete.
If you have any questions regarding the procedure? Comment us below.
Author Bio:- Suraj Padmasali, founder of MegeByte.com. He has a techie personality. He always loves to see technology around them. Or you can say they breathe technology, especially from mobile, different OS, gaming, accessories, and a lot more industry-specific technologies.