
Another Blue Screen of Death. Yes, you have walked into this trap once again. But this time it is an entirely new error that has led you here. The PFN_LIST_CORRUPT Error. Of course, you are looking for ways to fix this PFN LIST CORRUPT error and thankfully, you have walked into the right place. Because in this article, we are going to show you the various ways in which you can deal with the error and get your screen back to normal.
What is PFN_LIST_CORRUPT Error?
The PFN list actually means the Page Frame Number list and the list includes physical memory pages of the various systems in Windows. It deals with the location and memory details of various files. And hence any corruption in the list might cause an error that instantly brings about a blue screen.
Error message:
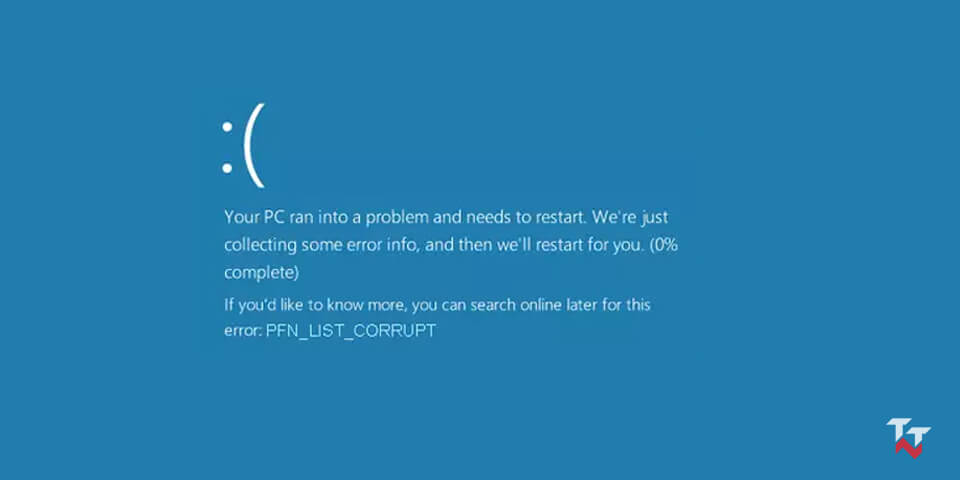
🙁
Your PC ran into a problem and needs to restart. We’re just collecting some error info, and then we’ll restart for you.
If you’d like to know more, you can search online later for this error: PFN_LIST_CORRUPT
Causes of the BSOD Error
The list becomes corrupt memory malfunctions that might arise due to hardware issues or corrupt files. The potential causes of the error include:
- Presence of virus or malware in the system.
- Possible damage to the hard drive.
- Corruption to the RAM.
- Corrupted, damaged or missing system files.
- Outdated drivers.
How To Fix PFN LIST CORRUPT Error
I know you have only one question – how to fix PFN LIST CORRUPT error? Just wait, man. We have given enough solution below to solve PFN_LIST_CORRUPT error. Just check it out.
Solution 1: Running Troubleshooter
A troubleshooter will search for the cause of the error and then try to fix it. Windows has several troubleshooters that come in handy while dealing with errors. In fact, you can use this method for any error that brings about a blue screen of death.
- Click on the Windows icon to open the start menu.
- Select the gear icon and get to Settings.
- Among the various options present, choose the Update & Security option.
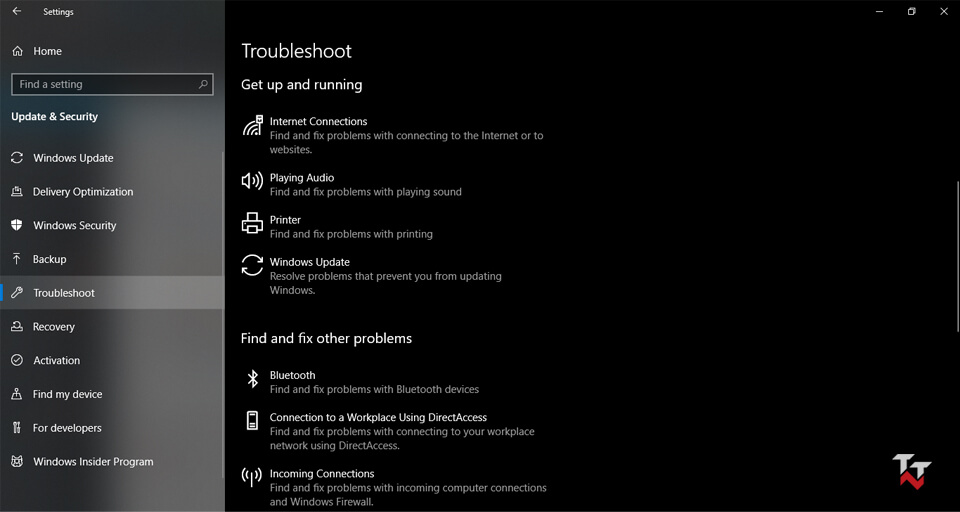
- Choose the Troubleshoot option on the left pane.
- Go for the appropriate option on the right side of the screen according to pfn_list corrupt error.
- Tap on the Run the troubleshooter option.
- Windows will now show you some on-screen instructions that you will need to follow in order to complete the troubleshooting.
- Once finished, Restart your Computer.
Now, you can easily run your PC without any issue.
Solution 2: Running an SFC scan
SFC stands for System File Checker. It is a very efficient tool that can save your butt if you are dealing with corruption in your critical files. As the tool scans for the validity of the versions of the system files. And if a file is of the wrong version, it replaces it with the correct verified one.
- Press the Windows key and R key on your keyboard simultaneously to open the Run dialogue box.
- When the dialogue box appears, type in cmd in the given space.
- You need to open it as an administrator, so use the combinations Ctrl + Shift + Enter instead of just hitting Enter or going for the OK option.
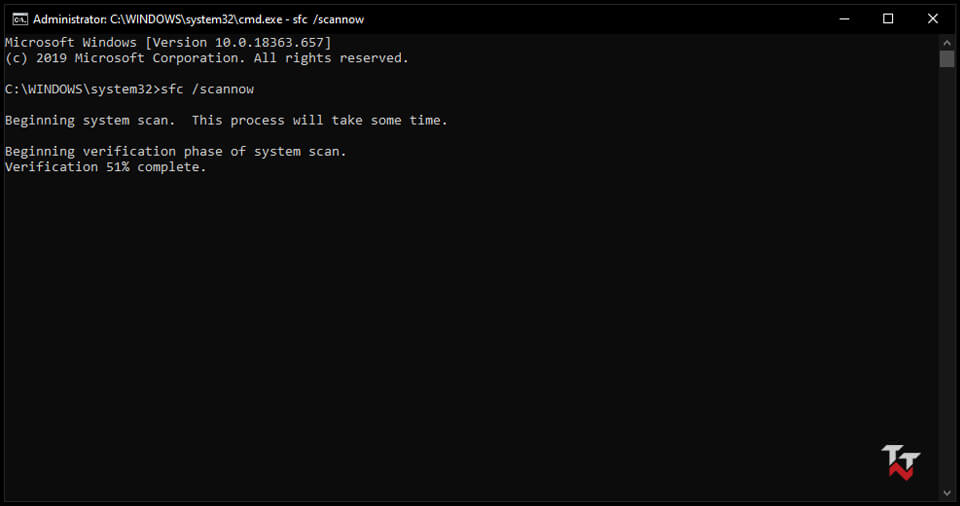
- When the Command Prompt’s black screen appears, type sfc /scannow command and hit Enter.
- Wait for the scan to finish.
- Once done, close the Command Prompt and Restart your computer.
In most cases, this solution works and resolves pfn_list_corrupt error.
Solution 3: Running DISM
DISM stands for Deployment Image Servicing and Management. It is yet another troubleshooting method that we are going to use. The tool will re-deploy the system image. Hence fixing any issues that happen along the way.
There are two ways to do the trick.
Standard way
- Go to the Windows search bar. Type in Run and then hit Enter.
- Open the Run app from the results.
- In the space provided in the dialogue box, type in cmd.
- Use the combination Ctrl + Shift + Enter to open Command Prompt as an administrator.
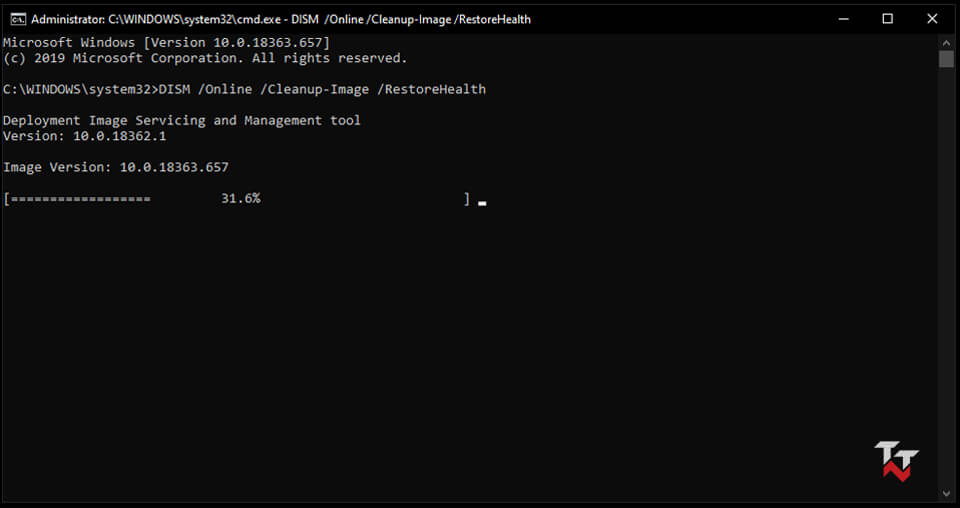
- In the black screen of the Command Prompt, enter the command below and hit Enter.
DISM /Online /Cleanup-Image /RestoreHealth
- The process will take some time to finish.
- After completion, Restart your computer.
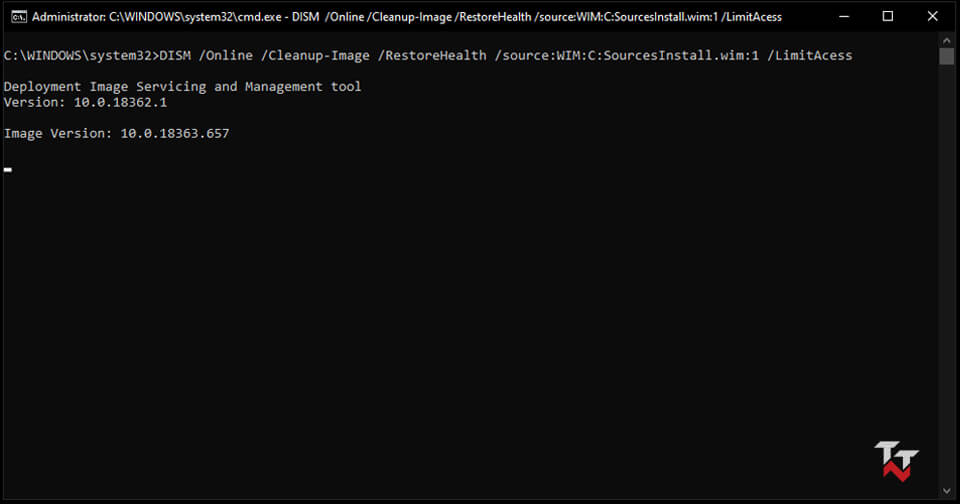
With the Windows Installation Media
- Go on right ahead and install the Windows installation media.
- Open the Command Prompt as an administrator just like in the above method.
- In the Command prompt, type the command below and press Enter.
DISM /Online /Cleanup-Image /ScanHealth
- Do the same with this command as well.
DISM /Online /Cleanup-Image /RestoreHealth
- Type in this final command and press Enter yet again.
DISM /Online /Cleanup-Image /RestoreHealth /source:WIM:X:SourcesInstall.wim:1 /LimitAcess
- You will now have to change the value of X to the letter on the mounted drive.
- Once done, Restart your computer.
This should work and solve pfn list corrupt error in Windows 10.
Solution 4: Checking the Hard drive
Hard drive issues can cause several glitches in your system. Apparently, it might be the reason behind the error in the discussion as well. Therefore, its worth a try to check how your disk is doing. For this purpose, you can use the chkdsk command.
- Firstly, you need to enter the Advanced Startup mode. Restart your system along with pressing the Shift key for achieving this.
- Choose the Troubleshoot option and then go for Advanced Options.
- From the list that appears, open the Command Prompt.
- Enter each of the following commands in the command prompt and press Enter to run them. Do them one by one.
bootrec.exe /rebuildbcd
bootrec.exe /fixmbr
bootrec.exe /fixboot
- Sometimes, you have to run additional commands as well. These commands required you to know the letters of the drive you used during partition.
chkdsk /r c:
chkdsk /r d:
If you have more partitions, then you have to perform the command for those as well.
- Then type exit in the command prompt and press Enter.
- From the options, choose Continue to Windows 10.
So, if this blue screen error is coming due to a hard drive problem, then you no longer need to worry.
Solution 5: Disabling Microsoft OneDrive
OneDrive was prominent before the age of Google Drive and other cloud services. As if right now, it is only a default application in Windows. It is very helpful if you want to upload your data or share it with someone else. But there have been reports that OneDrive has been causing PFN LIST CORRUPT error. So, you will have to disable it to get rid of that blue screen of death.
- Use the Windows search bar to look Edit group policy.
- Open the app from the results and the Local Group Policy Editor will open.
- Locate the Local Computer Policy folder on the left pane.
- Expand it by clicking the arrow beside it and then choose Computer Configuration.
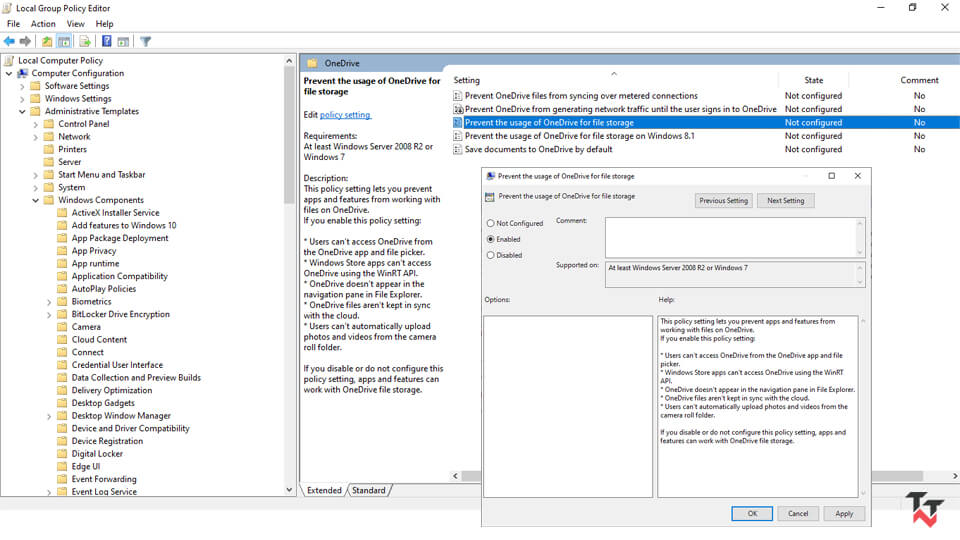
- Follow the steps through the path Administrative Templates > Windows Components > OneDrive.
- Look for the Prevent the usage of OneDrive for file storage file on the right side of the screen.
- Double-click on the file and toggle it as Enabled.
- Select Apply and then choose the OK option to disable OneDrive.
If the above method doesn’t work for you, there is also an option to use the Registry Editor to do your deed.
- Press the Windows key and R key on keyboard simultaneously to open the Run dialogue box.
- Type in Regedit in the space provided and then choose the OK option or hit Enter.
- Pay attention to the left side of the screen and navigate to the location below, just like before.
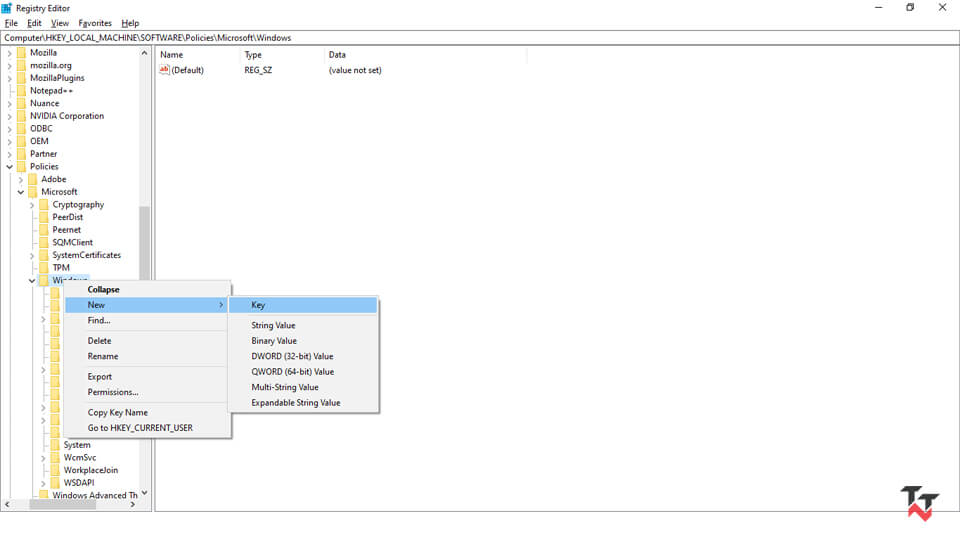
HKEY_LOCAL_MACHINE\Software\Policies\Microsoft\Windows
- Search for the OneDrive key after expanding the Windows key. Don’t worry if you can’t find it. We got you covered, just follow the steps below.
- Right-click on the Windows folder and then select New from the options.
- Go for the Key option.
- Set the name of the key as OneDrive.
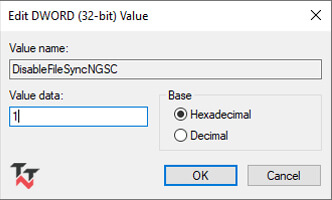
- Now, choose the OneDrive key. Right-click on the right side of the screen and select New from the options.
- Choose the DWORD (32-bit) Value from the drop-down menu.

- Set DisableFileSyncNGSC as DWORD’s new name.
- Double-click the file and then change the value of data to 1.
- Choose the OK option to save changes.
- Restart your computer.
You probably didn’t go beyond that to solve any errors, did you? But this is a working solution and you should believe it.
Solution 6: Uninstalling problematic software
It is funny that a tonne of blue screen errors can be caused due to antiviruses. So, you have to uninstall these in order for your computer to work properly. After removing the third-party software, you can look for a new version of the same antivirus or just go for alternative software.
Apart from an antivirus, some drivers can cause the mentioned error as well. So you have to remove these to fix the error.
- Open the Power User Menu by using the combination, Windows key + X key on your keyboard.
- Choose the Device Manager option from the list.
- In the long list within the Device Manager, look for the Driver that you want to get rid of.
- Once you find it, right-click it and then choose the Uninstall device option.
- Sometimes the Delete driver software for this device option will be available. Choose it and then go for the OK option.
- Restart your computer after removing the driver.

This is the last option to solve the pfn_list_corrupt BSOD error. I hope it’s fixed now.
Conclusion
Now that you have read this article, you know a little background information about the PFN LIST CORRUPT error itself and the various ways in which you can solve the error. So go on and get your screen fixed ASAP.